单机版 FastDFS 部署文档


1. 版本说明

软件名称 版本 下载地址
FastDFS 5.1.1 https://codeload.github.com/happyfish100/fastdfs/zip/V5.11
Libfastcommon 1.0.43 https://codeload.github.com/happyfish100/libfastcommon/zip/V1.0.43
Fastdfs-nginx-module 1.20 https://codeload.github.com/happyfish100/fastdfs-nginx-module/zip/V1.20
Nginx 1.15.4 http://nginx.org/download/nginx-1.15.4.tar.gz

2. 磁盘路径规划

说明 路径
安装包 /etc/fdfs/package
数据存储目录 /data/${groupname} …
Storage 目录 /home/fastdfs_storage
Tracker 目录 /home/fastdfs_tracker

3. 准备环境

yum install git gcc gcc-c++ make automake autoconf libtool pcre pcre-devel zlib zlib-devel openssl-devel wget vim -y

4. 关闭防火墙

# Centos7
# 停止firewall
systemctl stop firewalld.service 
# 禁止firewall开机启动
systemctl disable firewalld.service 

5. 上传安装包

# 上传安装包到服务器
scp * root@node2:/etc/fdfs/package
fastdfs-5.11.zip                                100%  415KB   7.2MB/s   00:00
fastdfs-nginx-module-1.20.zip                   100%   22KB   1.4MB/s   00:00
libfastcommon-1.0.43.zip                        100%  216KB   6.7MB/s   00:00
nginx-1.15.4.tar.gz                             100% 1001KB  10.2MB/s   00:00

# 切换到 安装服务器
[root@node2 package]# cd /etc/fdfs/package

# 增加执行权限
[root@node2 package]# chmod +x * 

6. 安装libfatscommon

# 解压安装文件
[root@node2 package]# unzip libfastcommon-1.0.43.zip
Archive:  libfastcommon-1.0.43.zip
…
#切换到安装文件目录
[root@node2 package]# cd libfastcommon-1.0.43

#编译安装
[root@node2 libfastcommon-1.0.43]# ./make.sh && ./make.sh install
cc -Wall -D_FILE_OFFSET_BITS=64 -D_GNU_SOURCE -g -O3 -c -o hash.o hash.c
…
mkdir -p /usr/lib64
mkdir -p /usr/lib
mkdir -p /usr/include/fastcommon
install -m 755 libfastcommon.so /usr/lib64
install -m 644 common_define.h hash.h chain.h logger.h base64.h shared_func.h pthread_func.h ini_file_reader.h _os_define.h sockopt.h sched_thread.h http_func.h md5.h local_ip_func.h avl_tree.h ioevent.h ioevent_loop.h fast_task_queue.h fast_timer.h process_ctrl.h fast_mblock.h connection_pool.h fast_mpool.h fast_allocator.h fast_buffer.h skiplist.h multi_skiplist.h flat_skiplist.h skiplist_common.h system_info.h fast_blocked_queue.h php7_ext_wrapper.h id_generator.h char_converter.h char_convert_loader.h common_blocked_queue.h multi_socket_client.h skiplist_set.h fc_list.h json_parser.h buffered_file_writer.h /usr/include/fastcommon
if [ ! -e /usr/lib/libfastcommon.so ]; then ln -s /usr/lib64/libfastcommon.so /usr/lib/libfastcommon.so; fi

#安装完成

7. 修改 fastdfs-nginx-module 配置

# 解压安装文件
unzip fastdfs-nginx-module-1.20.zip

# 修改配置文件
vim /etc/fdfs/package/fastdfs-nginx-module-1.20/src/config

ngx_addon_name=ngx_http_fastdfs_module
 if test -n "${ngx_module_link}"; then
     ngx_module_type=HTTP
     ngx_module_name=$ngx_addon_name
     # ngx_module_incs="/usr/local/include" 替换成下面内容
     ngx_module_incs="/usr/include/fastdfs /usr/include/fastcommon/"
     ngx_module_libs="-lfastcommon -lfdfsclient"
     ngx_module_srcs="$ngx_addon_dir/ngx_http_fastdfs_module.c"
     ngx_module_deps=
     CFLAGS="$CFLAGS -D_FILE_OFFSET_BITS=64 -DFDFS_OUTPUT_CHUNK_SIZE='256*1024' -DFDFS_MOD_CONF_FILENAME='\"/etc/fdfs/mod_fastdfs.conf\"'"
     . auto/module
 else
     HTTP_MODULES="$HTTP_MODULES ngx_http_fastdfs_module"
     NGX_ADDON_SRCS="$NGX_ADDON_SRCS $ngx_addon_dir/ngx_http_fastdfs_module.c"
     #CORE_INCS="$CORE_INCS /usr/local/include" 替换成下面内容
     CORE_INCS="$CORE_INCS /usr/include/fastdfs /usr/include/fastcommon/"
     CORE_LIBS="$CORE_LIBS -lfastcommon -lfdfsclient"
     CFLAGS="$CFLAGS -D_FILE_OFFSET_BITS=64 -DFDFS_OUTPUT_CHUNK_SIZE='256*1024' -DFDFS_MOD_CONF_FILENAME='\"/etc/fdfs/mod_fastdfs.conf\"'"
 fi

8. 安装 FastDFS

#解压安装文件
[root@node2 package]# unzip fastdfs-5.11.zip

# 切换路径
[root@node2 package]# cd fastdfs-5.11

# 编译安装
[root@node2 fastdfs-5.11]# ./make.sh && ./make.sh install
cc -Wall -D_FILE_OFFSET_BITS=64 -D_GNU_SOURCE -g -O -DDEBUG_FLAG -c -o 
…
cp -f ../common/fdfs_define.h ../common/fdfs_global.h ../common/mime_file_parser.h ../common/fdfs_http_shared.h ../tracker/tracker_types.h ../tracker/tracker_proto.h ../tracker/fdfs_shared_func.h ../storage/trunk_mgr/trunk_shared.h tracker_client.h storage_client.h storage_client1.h client_func.h client_global.h fdfs_client.h /usr/include/fastdfs
if [ ! -f /etc/fdfs/client.conf.sample ]; then cp -f ../conf/client.conf /etc/fdfs/client.conf.sample; fi
# 安装完成

9. 拷贝配置文件

# 拷贝配置文件
cp /etc/fdfs/tracker.conf.sample /etc/fdfs/tracker.conf
cp /etc/fdfs/storage.conf.sample /etc/fdfs/storage.conf

#拷贝客户端文件,测试用
cp /etc/fdfs/client.conf.sample /etc/fdfs/client.conf 

#拷贝 http.conf 与 mime.types 配置文件供nginx访问使用
cp /etc/fdfs/package/fastdfs-5.11/conf/http.conf  /etc/fdfs/
cp /etc/fdfs/package/fastdfs-5.11/conf/mime.types /etc/fdfs/

#拷贝 nginx 模块的配置文件
cp /etc/fdfs/package/fastdfs-nginx-module-1.20/src/mod_fastdfs.conf /etc/fdfs

#将配置文件备份
mkdir propertiesbackup
mv *.sample propertiesbackup/

10. 安装nginx模块

#解压安装文件
[root@node2 package]# tar -zxvf nginx-1.15.4.tar.gz
nginx-1.15.4/
nginx-1.15.4/auto/
#进入安装文件目录
[root@node2 package]# cd nginx-1.15.4

# 为 nginx 添加 fastdfs 模块
[root@node2 nginx-1.15.4]# ./configure --add-module=/etc/fdfs/package/fastdfs-nginx-module-1.20/src
checking for OS
 + Linux 3.10.0-957.27.2.el7.x86_64 x86_64
…
creating objs/Makefile
Configuration summary
  + using system PCRE library
  + OpenSSL library is not used
  + using system zlib library

  nginx path prefix: "/usr/local/nginx"
  nginx binary file: "/usr/local/nginx/sbin/nginx"
  nginx modules path: "/usr/local/nginx/modules"
  nginx configuration prefix: "/usr/local/nginx/conf"
  nginx configuration file: "/usr/local/nginx/conf/nginx.conf"
  nginx pid file: "/usr/local/nginx/logs/nginx.pid"
  nginx error log file: "/usr/local/nginx/logs/error.log"
  nginx http access log file: "/usr/local/nginx/logs/access.log"
  nginx http client request body temporary files: "client_body_temp"
  nginx http proxy temporary files: "proxy_temp"
  nginx http fastcgi temporary files: "fastcgi_temp"
  nginx http uwsgi temporary files: "uwsgi_temp"
  nginx http scgi temporary files: "scgi_temp"

#编译安装
[root@node2 nginx-1.15.4]# make && make install test -d '/usr/local/nginx/html' \
    || cp -R html '/usr/local/nginx'
test -d '/usr/local/nginx/logs' \
    || mkdir -p '/usr/local/nginx/logs'
make[1]: 离开目录“/etc/fdfs/package/nginx-1.15.4”

11. 配置tracker

#创建数据文件夹
[root@node2 home]# mkdir /home/fastdfs_tracker

# 编辑配置文件
vim /etc/fdfs/tracker.conf

# 修改下面配置
# false for enabled
# true for disabled
disabled=false

# bind an address of this host
# empty for bind all addresses of this host
bind_addr=

# the tracker server port
port=22122

# connect timeout in seconds
# default value is 30s
connect_timeout=30
# network timeout in seconds
# default value is 30s
network_timeout=60

# the base path to store data and log files
base_path=/home/fastdfs_tracker

# max concurrent connections this server supported
max_connections=256
  • 启动 tracker
#启动 tracker
[root@node2 home]# /usr/bin/fdfs_trackerd /etc/fdfs/tracker.conf restart
[root@node2 home]#
[root@node2 home]#
#验证是否成功启动 tracker查看端口是否被监听
[root@node2 home]# netstat -unltp|grep fdfs
tcp    0  0 0.0.0.0:22122       0.0.0.0:*           LISTEN   11452/fdfs_trackerd
# 查看 tracker 日志是否报错
[root@node2 home]# tail -100f  /home/fastdfs_tracker/logs/trackerd.log

12. 配置storage

# 数据和日志文件存储根目录
[root@node2 home]# mkdir /home/fastdfs_storage
[root@node2 fdfs]# mkdir /home/fastdfs_storage/data

# 修改配置文件
cp /etc/fdfs/storage.conf /etc/fdfs/storage-group1.conf

vim /etc/fdfs/storage-group1.conf
#需要修改的内容如下:

#启用配置文件
disabled=false

#设置storage的端口号,默认是23000,同一个组的storage端口号必须一致
port=23000

#组名,根据实际情况修改
group_name=group1

#设置storage的日志目录(需预先创建)
base_path=/home/fastdfs_storage

#存储路径个数,需要和store_path个数匹配
store_path_count=1

# 第一个存储数据的目录(需预先创建)
store_path0=/home/fastdfs_storage/data

# tracker服务器的IP地址和端口号(注意的是这个和虚拟机的IP地址一样)
tracker_server=192.168.71.100:22122

# http访问文件的端口(默认8888,看情况修改,和nginx中保持一致)
# the port of the web server on this storage server
http.server_port=8888
  • 启动storage
#启动命令
/usr/bin/fdfs_storaged /etc/fdfs/storage-group1.conf restart
#检查服务是否启动,查看端口是否被监听
[root@node2 fdfs]# netstat -unltp|grep fdfs
tcp    0  0 0.0.0.0:22122           0.0.0.0:*               LISTEN      11452/fdfs_trackerd
tcp    0  0 0.0.0.0:23000           0.0.0.0:*               LISTEN      3868/fdfs_storaged
#检查 storage是否有报错,查看日志文件
[root@node2 fdfs]# tail -100f /home/fastdfs_storage/logs/storaged.log

13. 配置client

#修 改 client 配置文件
vim /etc/fdfs/client.conf

# storage 日志存储目录
base_path=/home/fastdfs_storage

# tracker服务器IP和端口
tracker_server=192.168.71.100:22122
  • 上传文件,测试 client 是否配置成功
# 上传文件测试(将http.conf 配置文件上传到 fastdfs 中)
[root@node2 fdfs]# fdfs_upload_file /etc/fdfs/client.conf /etc/fdfs/http.conf
group1/M00/00/00/ChgFJl-jm22AIwK0AAADu-X3fZ437.conf

# 查看对应磁盘路径中是否有该文件
[root@node2 fdfs]# ls /home/fastdfs_storage/data/data/00/00/
ChgFJl-jm22AIwK0AAADu-X3fZ437.conf

14. 配置nginx访问

  1. 编辑mod_fastdfs.conf配置文件
vim /etc/fdfs/mod_fastdfs.conf
#需要修改的内容如下
tracker_server=192.168.71.100:22122
storage_server_port=23000
group_name=group1
url_have_group_name = true
store_path0=/home/fastdfs_storage/data
  1. 编辑nginx.config配置文件
vim /usr/local/nginx/conf/nginx.conf

#添加如下配置
server {
    listen       8888;    ## 该端口为storage.conf中的http.server_port相同
    server_name  localhost;
    location ~/group[0-9]/ {
        ngx_fastdfs_module;
    }
    error_page   500 502 503 504  /50x.html;
    location = /50x.html {
    root   html;
    }
}

15. 启动nginx

# 启动 nginx
[root@node2 data]# /usr/local/nginx/sbin/nginx
ngx_http_fastdfs_set pid=11485

# 查看日志文件,看是否有报错
[root@node2 data]# tail -100f /usr/local/nginx/logs/error.log

# 访问 nginx 主页
http://node2:8888/

16. 测试 fastdfs-nginx模块

#上传文件到服务器
scp  01.jpg root@node2:/etc/fdfs/package
scp  02.jpg root@node2:/etc/fdfs/package
#将图片上传到 fastdfs
[root@node2 package]# /usr/bin/fdfs_test /etc/fdfs/client.conf upload 01.jpg[root@node2 package]#
[root@node2 package]# /usr/bin/fdfs_test /etc/fdfs/client.conf upload 02.jpg[2020-11-05 14:48:38] DEBUG - base_path=/home/fastdfs_storage, connect_timeout=30, network_timeout=60, tracker_server_count=1, anti_steal_token=0, anti_steal_secret_key length=0, use_connection_pool=0, g_connection_pool_max_idle_time=3600s, use_storage_id=0, storage server id count: 0

tracker_query_storage_store_list_without_group:
    server 1. group_name=, ip_addr=192.168.71.100, port=23000

group_name=group1, ip_addr=192.168.71.100, port=23000
storage_upload_by_filename
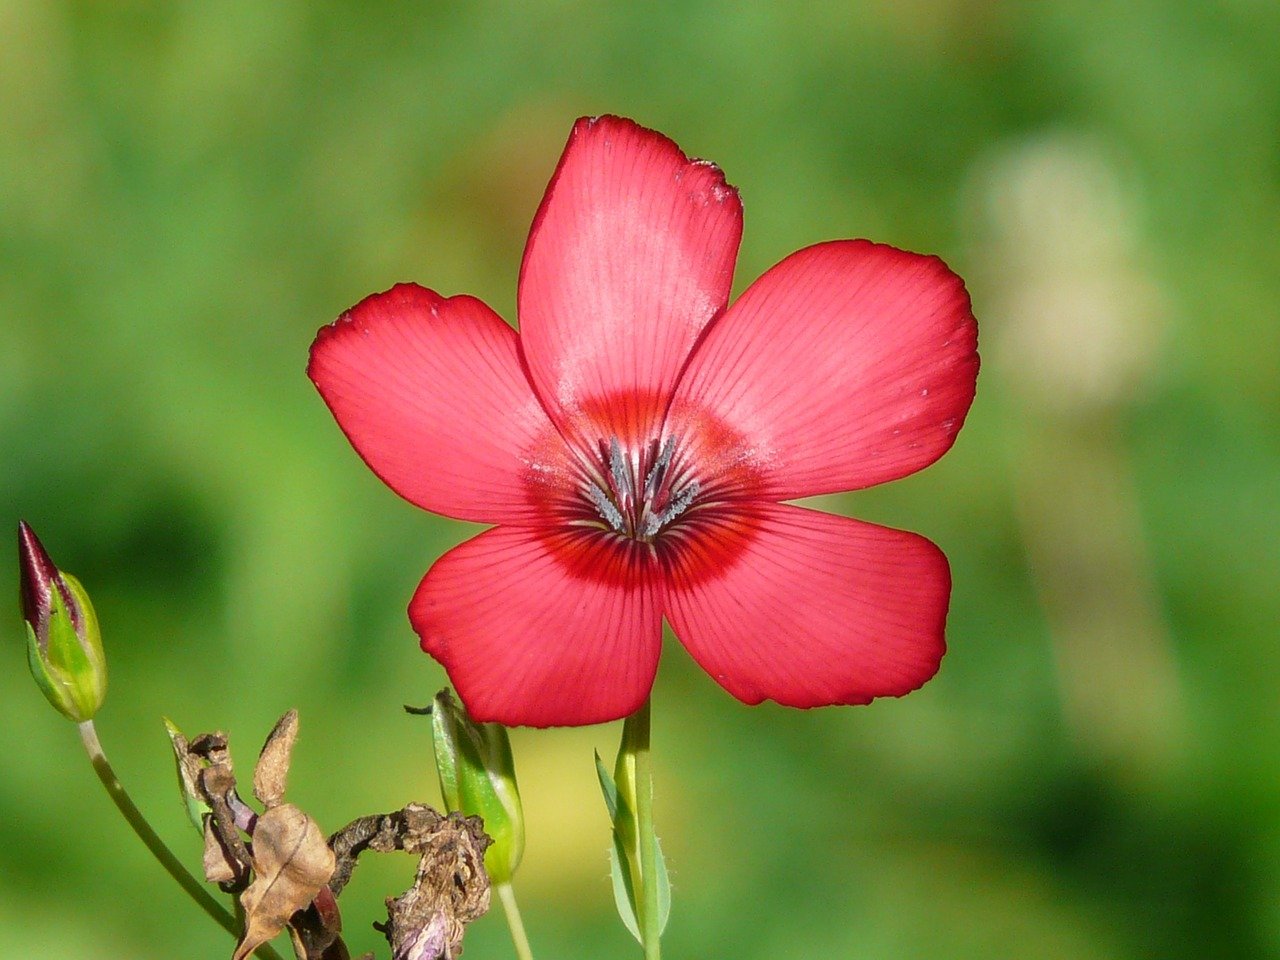
group_name=group1, remote_filename=M00/00/00/ChgFJl-joEaAb2fZAADPOHutGLQ206.jpg
source ip address: 192.168.71.100
file timestamp=2020-11-05 14:48:38
file size=53048
file crc32=2074941620
example file url: http://node2/group1/M00/00/00/ChgFJl-joEaAb2fZAADPOHutGLQ206.jpg
storage_upload_slave_by_filename
group_name=group1, remote_filename=M00/00/00/ChgFJl-joEaAb2fZAADPOHutGLQ206_big.jpg
source ip address: node2
file timestamp=2020-11-05 14:48:39
file size=53048
file crc32=2074941620

#图片访问地址
example file url: http://node2/group1/M00/00/00/ChgFJl-joEaAb2fZAADPOHutGLQ206_big.jpg

# 在浏览器上访问这个地址
# 能够正常访问说明正常运行

文章作者: hnbian
版权声明: 本博客所有文章除特別声明外,均采用 CC BY 4.0 许可协议。转载请注明来源 hnbian !
评论
 上一篇
Azkaban 1. 架构介绍 Azkaban 1. 架构介绍
1. Azkaban 介绍Azkaban 是由Linkedin开源的一个批量工作流任务调度器。用于在一个工作流内以一个特定的顺序运行一组工作和流程。Azkaban定义了一种KV文件格式来建立任务之间的依赖关系,并提供一个易于使用的web用户
2021-02-03
下一篇 
Ambari 重装kafka服务异常 unknown configType=kafka-broker Ambari 重装kafka服务异常 unknown configType=kafka-broker
1. 异常说明打算重装集群里面的 kafka,但是删除服务之后重新安装时在选择主机时报错了,然后就卡在了这个地方。截图如下: 同时在日志中也出现了异常信息,日志中的异常信息如下: # 查看日志文件内容 less /var/log/amb
2020-12-05
  目录